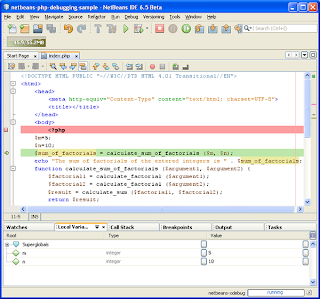
Most of the PHP developers are complaining that they have not a good ID for PHP debugging and every time that they have to use var_dump() print statement or PHP die or exit commands to check the state of php script. But now we can use netbeans to overcome this issue with netbeans-xdebug. I tried this with Linux and feel that working it cool. Anyway still I had not a time to try out this with windows and hope that netbeans-xdebuger working fine with windows also. Now I am going to explain how we can enable netbeans-xdebuger in Ubuntu
1. First we should have a netbeans installation package (Download from here)
2. After installing Netbeans we can install xdebuger. To do that open terminal and type fallowing commands.
sudo apt-get install php5-dev php-pear
sudo pecl install xdebug
3. Now you have installed xdebug successfully but not configure with PHP yet. To Configure xdebuger with php and netbeans ID.
open php.ini file using this command;
sudo gedit /etc/php5/apache2/php.ini
Add fallowings to php.ini file.
zend_extension=/usr/lib/php5/20060613/xdebug.so
xdebug.remote_enable=1
xdebug.remote_handler=dbgp
xdebug.remote_host=localhost
xdebug.remote_port=9000
xdebug.idekey="netbeans-xdebug"
4. Now your need to aware of that your "xdebug.so" file correctly located (/usr/lib/php5/20060613/xdebug.so
) at the seme place you have mention. Otherwise please correct it.
5. Finally we can restart our Apache sever using this command.
sudo /etc/init.d/apache2 restart
Mmmmmmm......... Now every things are cool and can enjoy with Netbeans-xdebuger.
Comments
Post a Comment